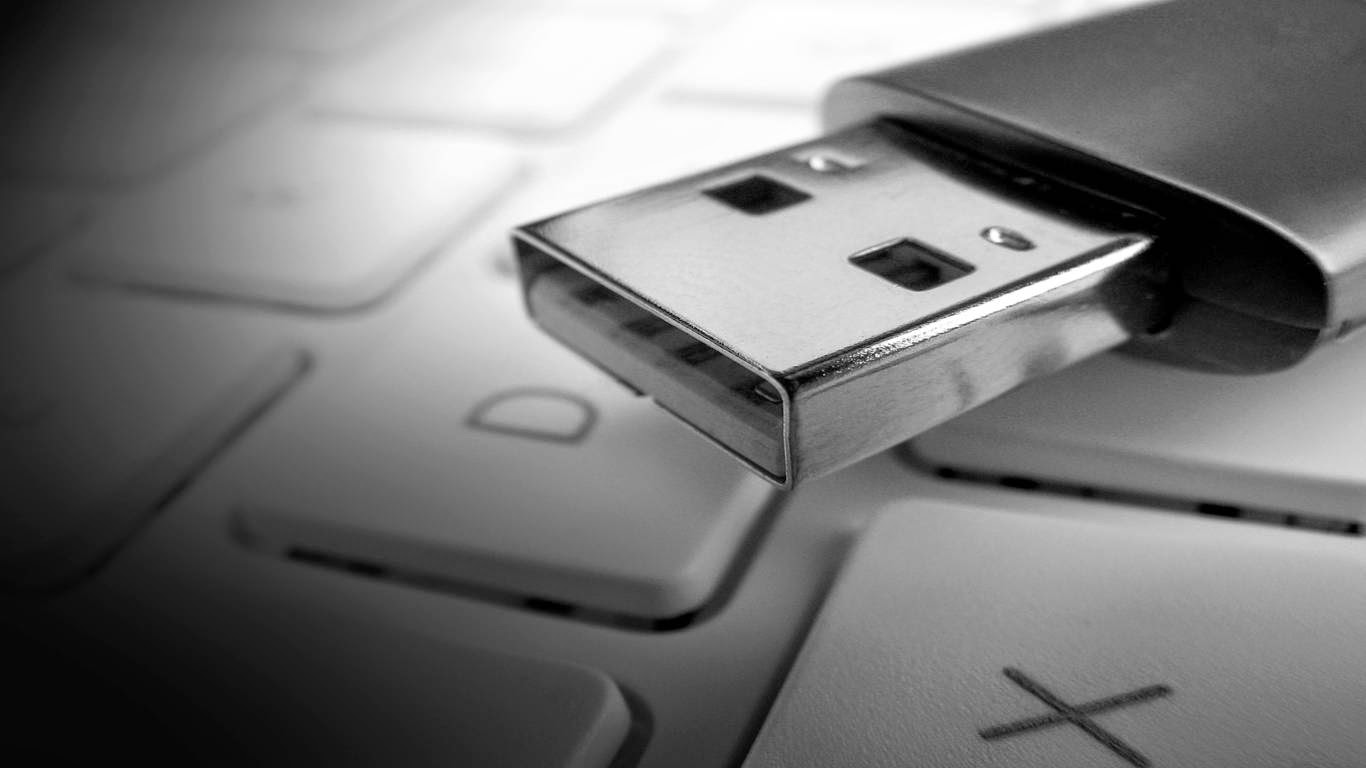
In this video tutorial, I am going to show you how to create a bootable windows 7 USB pen-drive with out any special tool. Here in this demo, i will be using the “diskpart” tool which is coming by default with all windows. Of-course you will need Administrative privileges to use this command line tool. Also i will be giving you step by step demonstration so that all you have to do is follow these steps.
You can watch and follow these steps to create a bootable windows 7 USB pen-drive in this youtube video.
Or directly follow the step in the instructions given below to create a bootable windows 7 USB pen-drive
[embedyt] https://www.youtube.com/watch?v=0el7J5dM3UU[/embedyt]
In the end of this tutorial on how to create a bootable windows 7 USB pen-drive, you will have a Bootable USB drive that can be used for installation of windows in any computer or laptop which do not have a DVD drive one it. You can use this same procedure to make your external HDD as a bootable device. Please take care to create a copy of all the data in the drive because formatting the drive will lose all the data in it.
Instructions:
Requirements for create a bootable windows 7 USB pen-drive:
1. pendrive – 16 GB
2. Copy of your windows 7
—————————————
step by step procedure for create a bootable windows 7 USB pen-drive
1. cmd
2. diskpart
3. list disk
4. select disk 3 (for me)
5. detail disk
6. clean
7. create partition primary
8. list partition
9. select partition 1
10. active
11. format fs=ntfs
12. assign
13. exit
—————————————–
copy all the contents from win 7 DVD / image / backup to pendrive.
——————————————
plug in the usb to laptop or pc which you need to reinstall .
* check the boot disk priority in the BIOS setting and make sure its on top. like first priority.
——————————————
Thank you.
